 15:11
15:11
 Unknown

How to use Nine Patch (9 patch) image in android ?
Whenever you are making android application and planning to include your own custom graphic element.
You often face problem of aliasing effect or the image you made is not the same size, resolution problem etc.
The solution to those kind of problem is making your custom graphic image into 9 patch PNG file.
And android have its own class for making draw9patch.
You often face problem of aliasing effect or the image you made is not the same size, resolution problem etc.
The solution to those kind of problem is making your custom graphic image into 9 patch PNG file.
And android have its own class for making draw9patch.
What is 9 Patch class?
A nine patch image class permits drawing bitmap in nine sections.
- The four corners are unscaled.
- Four edges are scaled in one axis.
- The
middle is scaled in both axes.
Normally, the middle is transparent so that the patch can
provide a selection about a rectangle.
Essentially, it allows the creation of
custom graphics that will scale the way that you define, when content added
within the image exceeds the normal bounds of the graphic.
For a thorough
explanation of a NinePatch image, read the discussion in the 2D Graphics
document.
How to make your normal png image to 9patch png.
Step 1: open Draw9patch.bat file from
android->android-sdk-windows->tools->draw9patch.bat
It will open small java base application which look like
this.

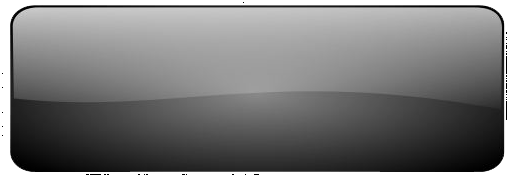
Step 2: Open your PNG file. Or Drag and drop your PNG file into this
application Here we will create custom button which has glossy effect.

Left side is where we will be making image 9 patch. And
right side shows equivalent image effect on basis of orientation.
Step 3: we need to mark the 1px size black color strips or
points which we need to be scaled for the image according to orientation of
android device.
So first we will start from top .
It will control the horizontal stretch of image.

As show in figure it will stretch the image from the point
which u marked in the image. You can see 1 small black dot on top. That means
you have starched the image from that section. You can create multiple section.
Just add small black dot on 1 px sixe on top.
Left section controls vertical section of the image. By
which you can divide the your image and scan control vertical stretch of your
image.
Bottom, Right Section controls the image quality. So you can
fill almost whole section.
To delete mark section press shift+Click on them to erase.
Step 4: Save your file .
Include your file in as button back ground. Your are done.!

| Author: Deep Mehta |
 Posted in:


0 comments:
Post a Comment
Fill free to post your Queries and Suggesion...!